Wednesday, February 4, 2015

February 4, 2015 Finished Grand Illusion

Today I put the final stitch in the binding and can call this quilt complete!  It's been washed and dried.  I wanted to take a picture of it on the bed, but the cat is sound asleep on the bed and I don't have the heart to move her right now.  So here it is on the living room floor.  It finished at 94" x 94".


It will be used on my bed, with the matching pillowcases I made during the process.

......On the afternoon of February 5, I finally had time when the cat wasn't on the bed to get the quilt on it.  Of course, she's back on it already, but that's okay.  All bedding in this house belongs to her.


...and here she is, back in her own little spot!


Saturday, January 31, 2015

January 31, 2015 Heading for the Finish

I am patiently (or ploddingly) working my way through the quilting process on my Bernina Aurora 440, a domestic machine.  I am using the BSR (stitch regulator) foot although it does balk occasionally on the yellow for some reason.  I decided on an overall, unmarked, meandering feather.


My label shows a finish date of January and that isn't going to happen.  I ran out of my quilting thread and had to order more.  I should finish during the first week of February, so I will sign my label and put the actual finish date there.


Sunday, January 4, 2015

Very early on New Year's day, Bonnie Hunter posted the reveal of her Grand Illusion quilt and the final instructions for cutting and assembling.

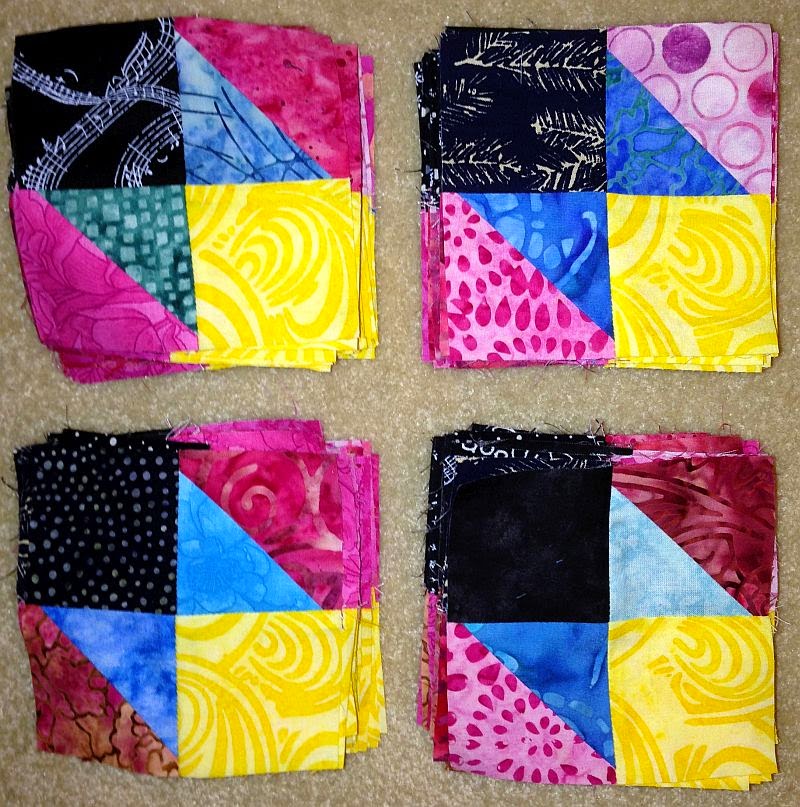
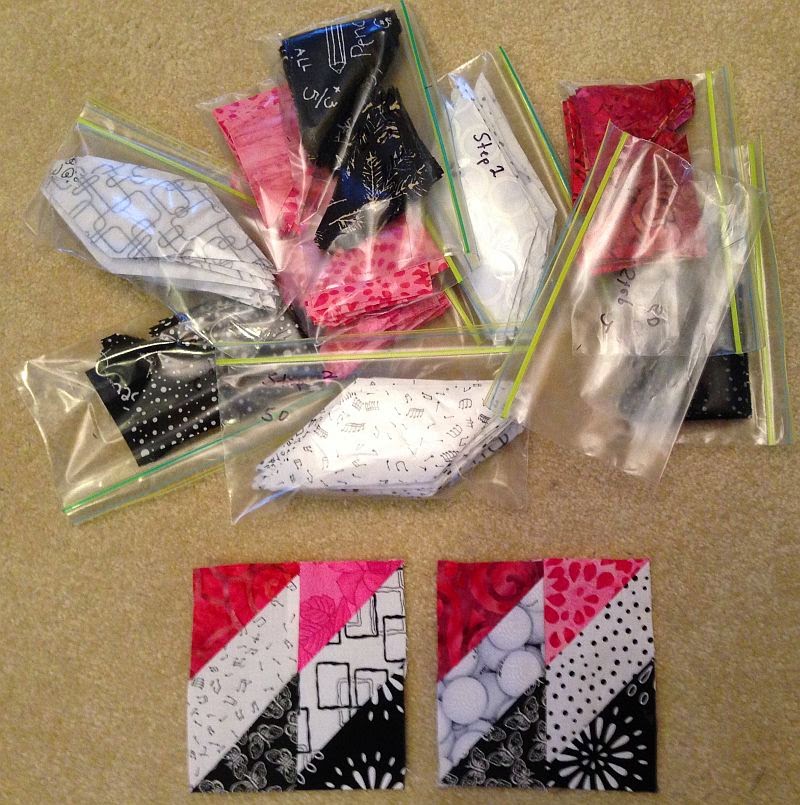
After breakfast on Friday morning, I got all my pieces in order so that I could be productive.


By midday on Saturday, I had gotten this far in the assembly process.


By midday on Sunday, I had the top together.  (I sewed a LOT!)


I put it on a queen-sized bed just to get an idea of how it might look after it's quilted and in use.


Saturday night, I made two sets of pillowcases that I can use when I use the quilt.


.......On Tuesday, after looking at the pillowcases with the birds for a while, I decided to add an additional border of the bird fabric to the quilt.  I think it encloses the design and pulls the colors of the quilt together.


On January 10 I was able to spray baste the layers together, and also lightly pin them since the quilt is large and heavy at this point. Free motion quilting will start soon!


January 11 - I decided to quilt it on my Bernina Aurora 440 (a domestic machine) using a rather large hooked feather meander, based on the technique in Sally Terry's book "Hooked on Feathers."  I've just gotten started, but it seems to be working well.  (You can click on the picture to enlarge it, in order to see the feather design.)


January 18 - Last week I got an ad for a fabric from American Quilters Society that I just couldn't resist, so I ended up buying enough for one more set of pillowcases.


Sunday, December 28, 2014

Step 5 - December 29, 2014

This week was quick and easy compared to previous weeks, and I got them all done before eating lunch on the Friday the step was posted.


Saturday, December 20, 2014

Step 4 - December 22, 2014

Thanks to having sewn some of the half-square triangle units for Step 4 while we were doing Step 1, this week's units went a bit faster.  These are two more sets of Broken Dishes units, in addition to the set that was made in Step 1.  The color arrangements are a little different in each set.

The left column is one set of 40, and on the right is the other set of 40.


Sunday, December 14, 2014

Step 3 - December 15, 2014

During the past week, I have made more progress than I made during the first two weeks. 

First, I finished Step 1.


Next, I completed Step 2.  I used Bonnie Hunter's second method, with a template taped to the Easy Angle ruler to cut the parallelograms.  Next time, I think I would use method 3. I had a hard time keeping these consistent and I think it was a combination of poor cutting and poor sewing.  However, they're done, and they should work!  (Maybe some of those center points don't QUITE match!   Sigh.....)


I have all the strips cut that I will need to finish 120 of the units for Step 3.  So far, 60 units are complete.  I hope to have them all done before next Friday when Step 4 is published.


....and later during the week, on Tuesday, I finished step 3 and have all the steps neatly corralled in their own plastic bags.  I'm ready for step 4!


Sunday, December 7, 2014

Step 2 - December 8, 2014

I've had time to do a bit more work on Step 1, although I still have a long way to go on it.


For step two, I've cut all the pieces, using Bonnie's Method 2.  I made a couple of completed units.  I need to work a bit more on accuracy, but I think they will be okay!